We make the process clear and straightforward — here’s how we turn your backyard vision into a beautiful, lasting pool, step by step.
Part 1
Pre Construction
7 Steps to Get You Started
Reach Out
We will call you to learn about your project, then email you to connect you with a Design Consultant who will set up your consultation.
Free Consultation
No Obligation
Site Visit
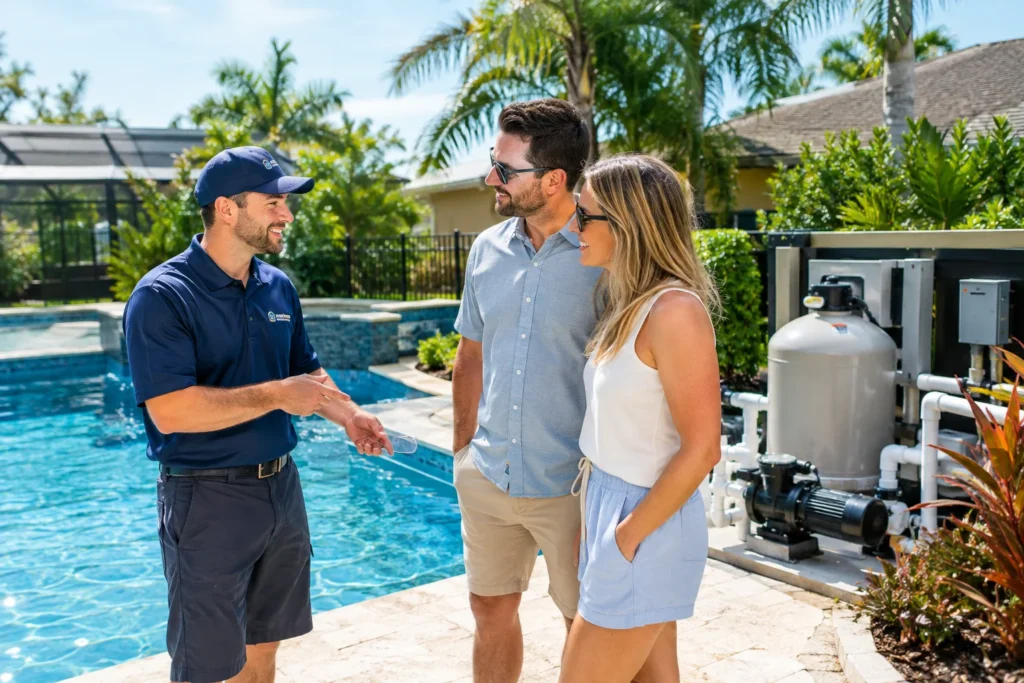
We’ll schedule a formal site visit and discuss all the possibilities. Together we’ll collaborate to design and customize your pool or renovation.
On-Site Assessment
Custom Design
“They were always responsive to my questions and managed the process so smoothly.”
Ray H.
Atlantic Beach, FL
3D Design & Proposal
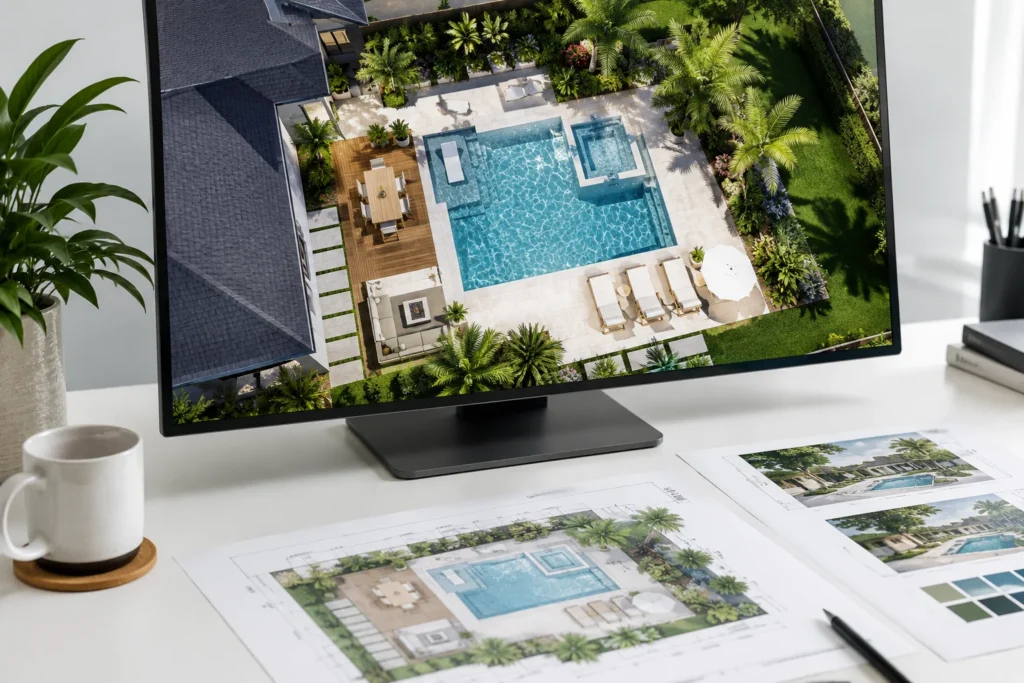
We will create a 3D rendering based on your consultation. Once you approve it we will put together a proposal.
3D Rendering
Transparent Pricing
Contract & Selections
Together we will meet at one of our local vendors to select your interior finish, waterline tile, and decking. We will go over and sign the paperwork to make it official!
Personal Selection
Local Vendors
Every finish, tile, and material chosen by you.
100% personalized — no package deals.
Engineering
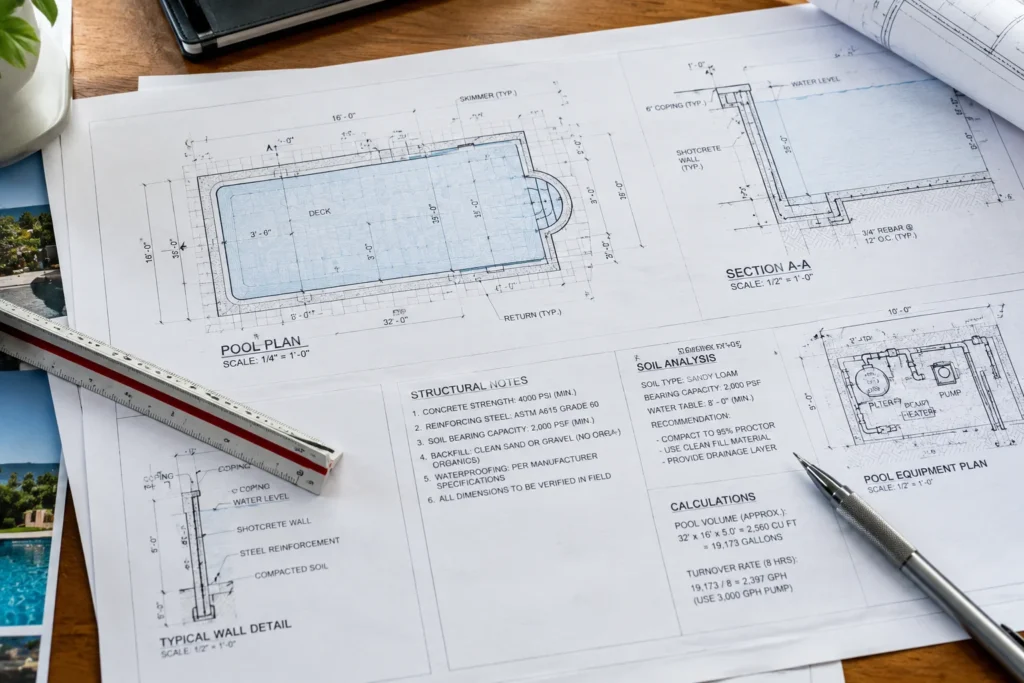
Engineering is completed before your plans move into permitting.
Engineering
Pre-Permit
Permitting
Our in-house team will prepare construction drawings and submit pool designs to the city or county for permit approval.
In-House Drawings
City & County Approval
Fully permitted.
Fully compliant.
100% personalized — no package deals.
Let's Build
After permit approval, our team prepares the construction drawings for the field, completes the pre-build walkthrough, and then we’re ready to begin construction.
Field Drawings
Pre-Build Walkthrough
Part 2
Construction
9 Steps from Pregrade to Pool School
Pregrade & Form
Our crew removes grass and levels the ground (pre-grade), then uses stakes and lumber to form the shape of your new pool.
Site Preparation
Custom Shaping
Excavation
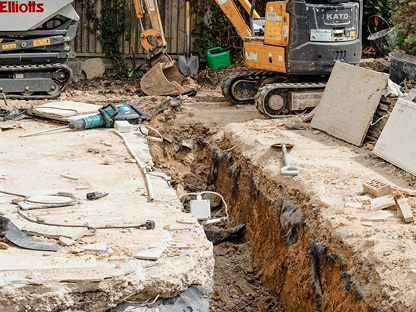
Our excavation crew gives your pool its basic shape by digging.
Excavation
Pool Shaping
Steel
A crew forms a rigid steel rebar grid — the backbone of your pool.
3D Rendering
Transparent Pricing
Shotcrete & Shell
After inspectors check our work, we shoot concrete around the steel grid. You’ll now see your steps, sun shelf, swimout, and benches take shape.
Shotcrete Application
Structural Inspection
Tile & Plumbing
Tile is hand-laid near the top of the pool beam by skilled craftsmen. All plumbing is completed and pressure tested. These phases are interchangeable, so depending on the project and construction schedule, tile may be installed before or after plumbing.
Hand-Laid Tile
Pressure Tested
“They kept us well informed of the construction schedule.”
Crystal P.
Atlantic Beach, FL
Electrical
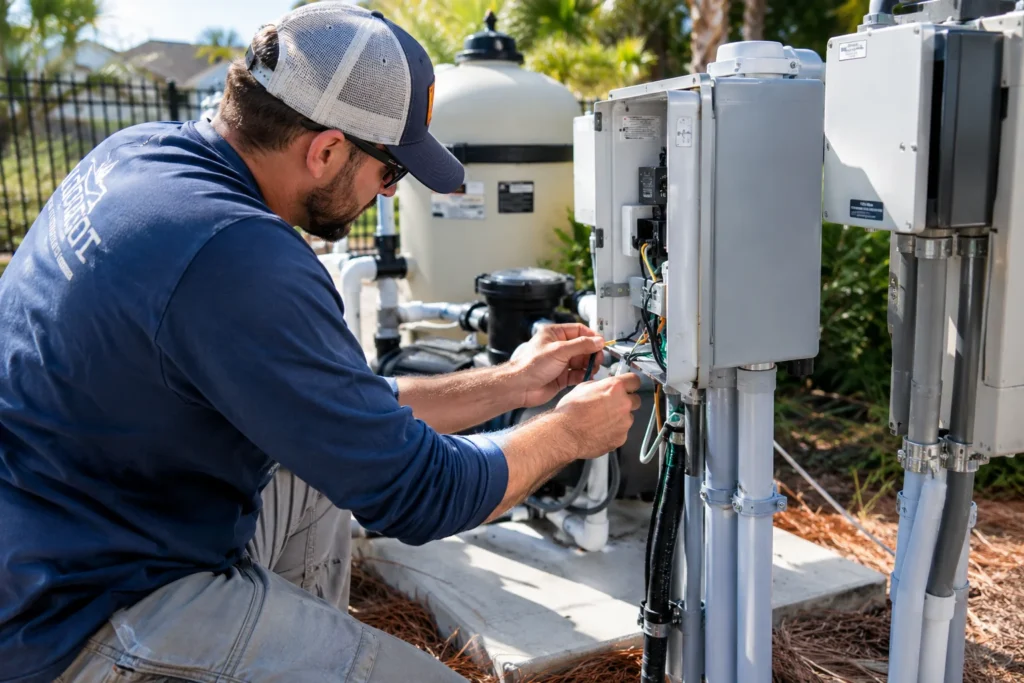
Our licensed electrical contractor completes the necessary electrical connections for the pool equipment, lighting and specified features.
Licensed Contractor
Electrical Connections
Coping & Decking
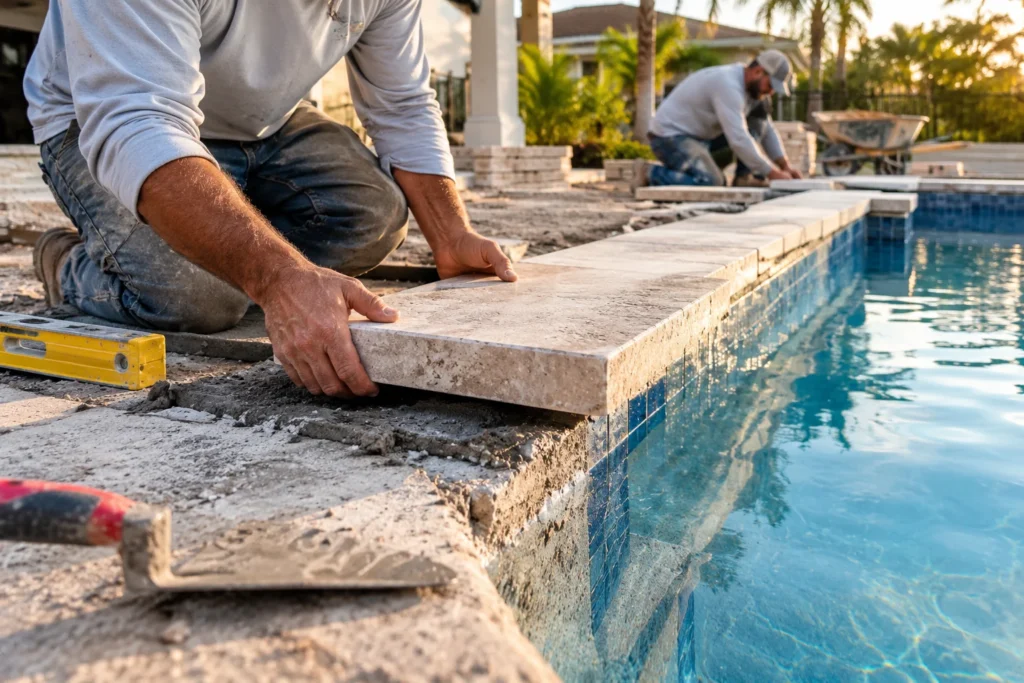
Next, we set the coping, prepare the deck area with a crushed concrete base as appropriate, and install your selected decking material.
Coping Installation
Custom Pavers
Safety, Prep & Interior Finish
Safety items are checked, the shell is cleaned, fittings installed, and your interior finish is hand-applied. Then — we fill it with water!
Safety Inspection
Hand-Applied Finish
“The team at Southern Elegance made the entire process seamless and enjoyable.”
Conner K.
Atlantic Beach, FL
Startup & Pool School
We maintain the pool during the first four weeks of startup, complete remaining punch-list and final inspection items, and then provide Pool School. Don’t worry — you can swim during this phase!
4-Week Startup
Pool School Included
Behind the Build
See Our Builds Come to Life
Watch every stage — from first dig to first swim — on our YouTube channel.